Maximizing Small Spaces With Light and Color
Transform cramped rooms into airy, welcoming spaces using strategic color choices and layered lighting techniques.
Why Small Spaces Feel Cramped
Small rooms don’t have to feel suffocating. The problem isn’t always square footage — it’s how light and color work together. When you get these two elements right, even a 200-square-foot studio can feel open and inviting.
We’ve worked with dozens of designers tackling this exact challenge. The most common mistake? Choosing dark colors or relying on a single light source. It’s understandable — many people think dark colors make rooms feel cozy. They do, but in small spaces, they also make walls feel closer.
The Core Strategy
Light walls reflect available light and expand visual space. Multiple light sources eliminate shadows that make rooms feel compressed. When combined, they create depth where none existed before.
Understanding Color’s Role in Space
Your walls are the largest surface in any room. They set the tone for everything else. In small spaces, wall color doesn’t just look pretty — it actually changes how the room feels physically.
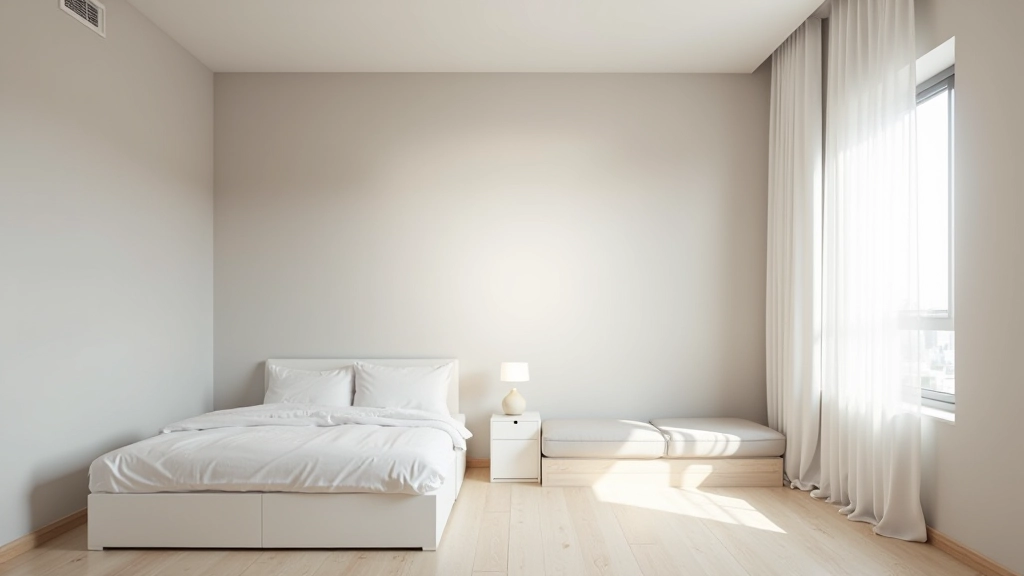
Light, neutral walls (think soft whites, pale grays, warm creams) reflect about 80% of light that hits them. Darker colors absorb that light, making rooms feel more enclosed. It’s not magic. It’s physics. That’s why interior designers almost universally recommend light colors for small spaces.
But here’s what matters: you don’t need boring white. Warm whites with slight undertones feel inviting. A barely-tinted gray adds sophistication. The key is keeping the lightness level high — think 70% or above on a standard lightness scale.
- Soft white (RGB 248, 248, 245) feels warm and clean
- Pale warm gray (RGB 240, 238, 234) adds subtle depth
- Off-white with yellow undertone (RGB 252, 250, 242) creates coziness
Three Layers of Light
Don’t rely on a single overhead light. It creates harsh shadows that make rooms feel cramped. Instead, use three types of lighting working together:
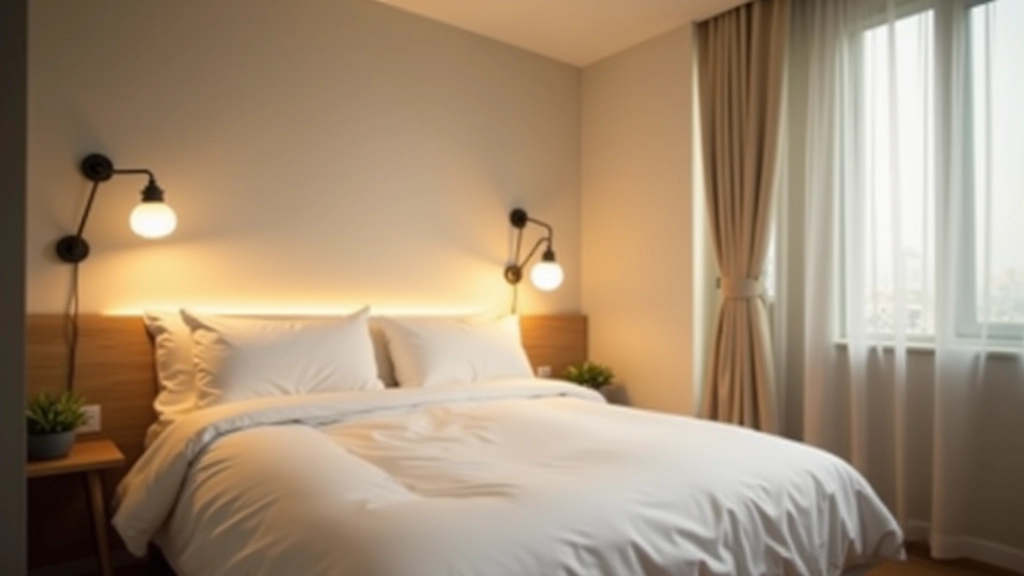
Ambient Light
Your general, overall light. In small spaces, use a dimmer with your ceiling fixture. This lets you adjust brightness to the time of day and activity. Nobody wants harsh bright light at 8 PM.
Task Light
Focused light where you actually work or read. A desk lamp, bedside lamp, or reading light. This serves double duty — it’s practical and it breaks up the visual space into zones.
Accent Light
Subtle lighting that draws attention to a feature. Wall sconces beside a mirror, light strips behind floating shelves, or a small uplighter in a corner. These create depth and visual interest.
Practical Techniques That Actually Work
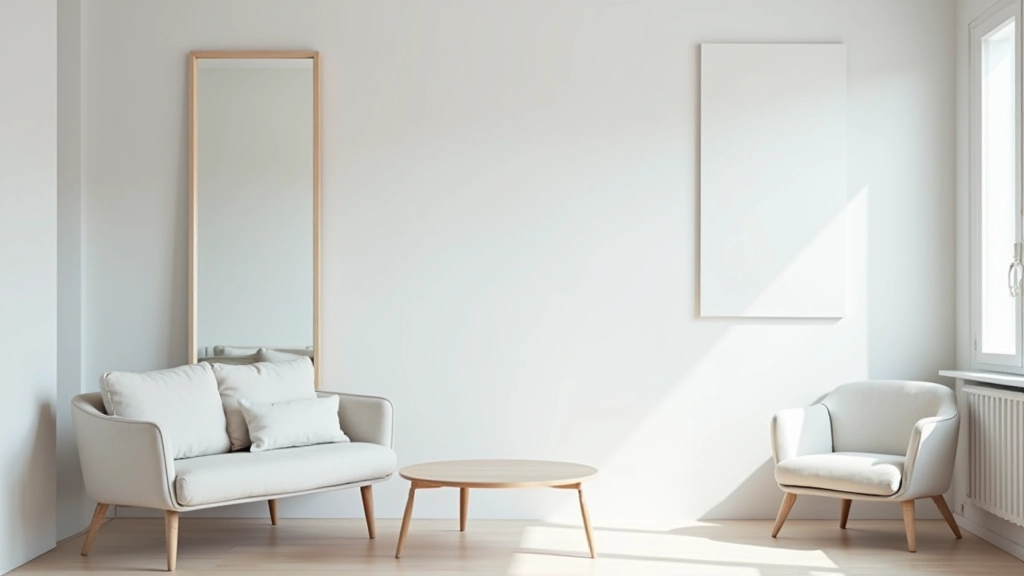
Strategic Mirror Placement
Mirrors reflect light and create the illusion of depth. A large mirror opposite a window bounces natural light throughout the entire room. Don’t hide mirrors in corners — make them a design feature. A 3-foot mirror takes up visual space but actually makes the room feel larger because of what it reflects.
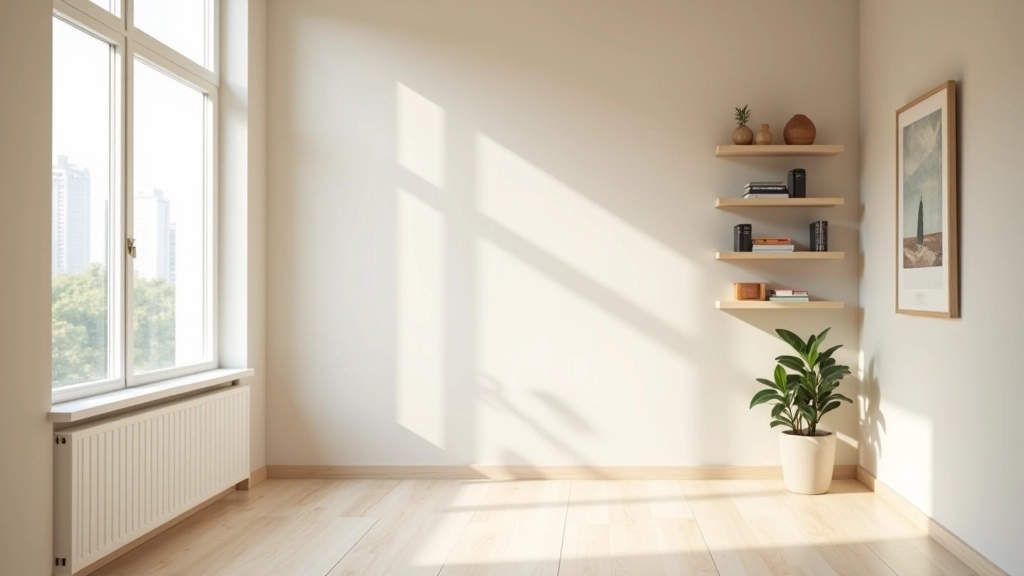
Emphasize Vertical Space
Your eyes move where you guide them. Use vertical elements — tall shelving, floor-to-ceiling curtains, artwork arranged vertically — to draw attention upward. This makes ceilings feel higher. Even a 9-foot ceiling feels spacious when visual elements point upward.
Eliminate Shadow Areas
Dark corners make rooms feel smaller. Place a small lamp or light strip in corners to eliminate shadows. You don’t need bright light — just enough to keep every area visible. Dark corners literally shrink perceived space because your brain registers them as dead areas.
Ready-to-Use Color Palettes
We’ve tested these combinations in actual small spaces. Each works because it keeps walls light while adding personality through accent colors and varied materials.
The Minimalist (Pure & Clean)
Off-white walls, white trim, light gray accents through textiles. Add warmth with natural wood furniture. This approach works everywhere — studios, apartments, dorm rooms. It’s timeless because it maximizes light reflection without feeling sterile when you add natural materials.
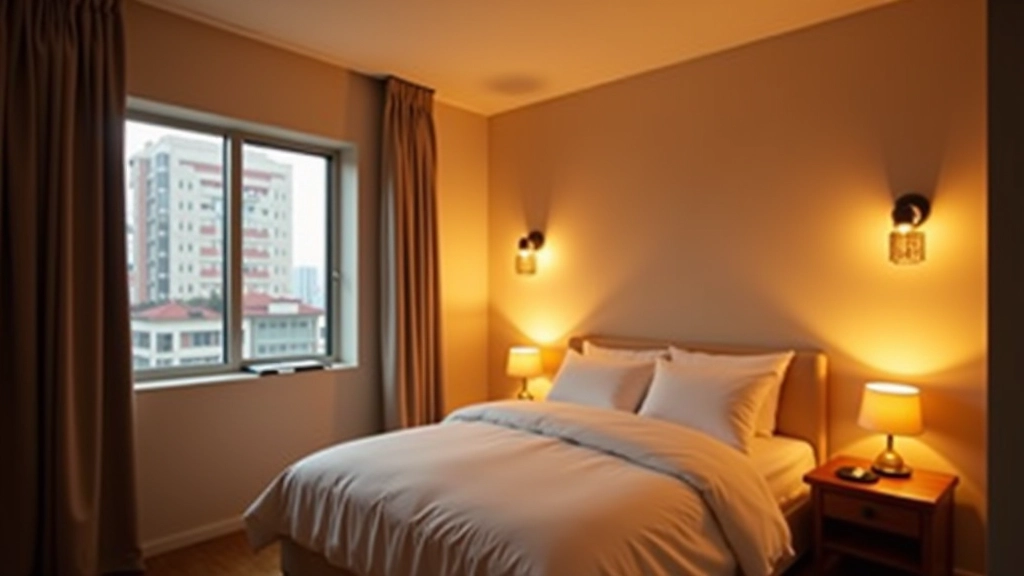
The Warm Neutral (Inviting & Subtle)
Pale warm gray walls, cream trim, touches of warm gold through lighting. Feels cozy without closing in the space. The warmth comes from light temperature and materials, not dark colors. Perfect for bedrooms and living spaces where you want comfort.
The Soft Accent (Character & Light)
White walls with one accent wall in a very pale color — soft sage, pale blue, or warm taupe. Keep the accent light (70%+ lightness). This adds personality without reducing perceived space. The accent wall works because it’s still light enough to reflect most light.

How to Implement These Ideas
Ready to redesign your small space? Start with these steps. You don’t need to do everything at once.
Assess Your Current Lighting
Spend a week observing how light moves through your space. Notice shadows. See where you feel cramped. This takes 10 minutes but saves you from guessing.
Choose Your Wall Color
Pick a light neutral you love. Get paint samples. Apply them to actual walls and observe in different lighting. What looks good in the paint store often looks different in your space.
Add Layered Lighting
Install a dimmer on existing overhead light. Add one task light (desk lamp or bedside lamp). That’s 80% of the solution. Accent lighting can wait.
Position a Mirror Strategically
If possible, hang a mirror opposite your window or brightest wall. Even a 2-by-3-foot mirror makes an immediate difference. You’ll notice the change within days.